I’ve sung the praises of coconut yogurt many times. But what if you don’t live near a store that stocks this relatively new product? Or, what if your kids are such yogurt fiends that you can barely afford to keep them stocked in this relatively-dang-expensive yogurt?
You can make your own! Seriously. It’s way easy, and costs about 1/3 as much.
.
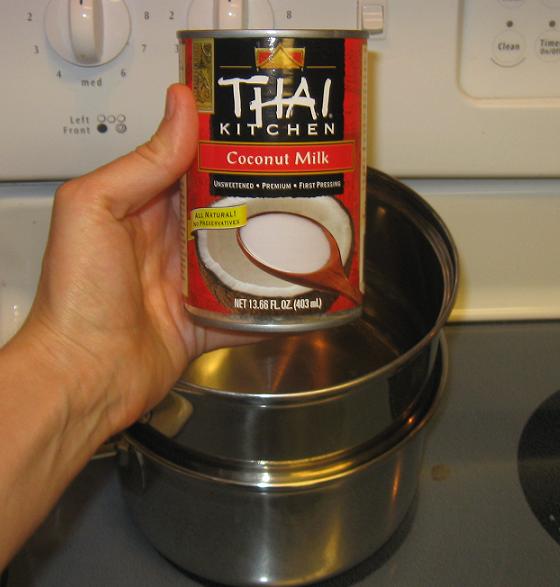
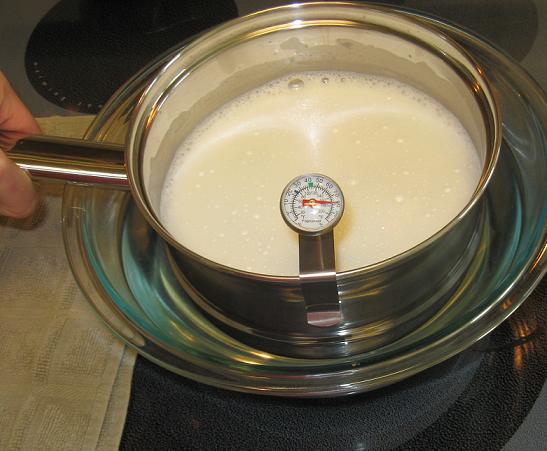
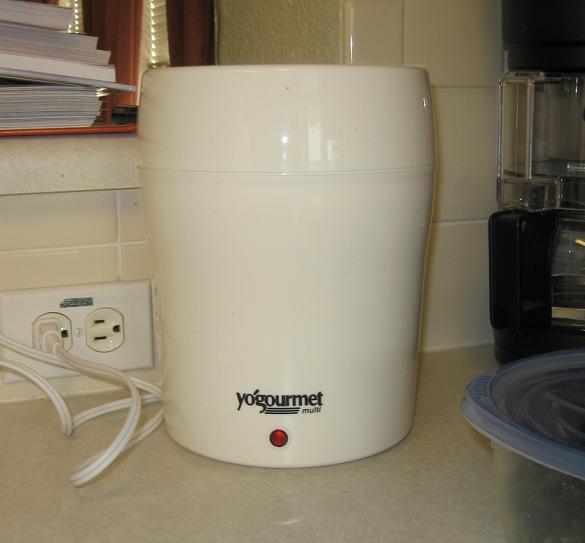
This isn’t a recipe so much as it is a process, which is to say, having the right kitchen equipment is key, including a yogurt maker. But before we get to that point, you’ll need a double-boiler. (If you’ve never heard of one, that’s a special kind of pot that is actually two pots, one nestled inside the other. You put water in the bottom pot, and this allows you to warm things in the top pot extremely evenly and carefully without scorching. It’s generally used for melting chocolate and other delicate things like that.)
.
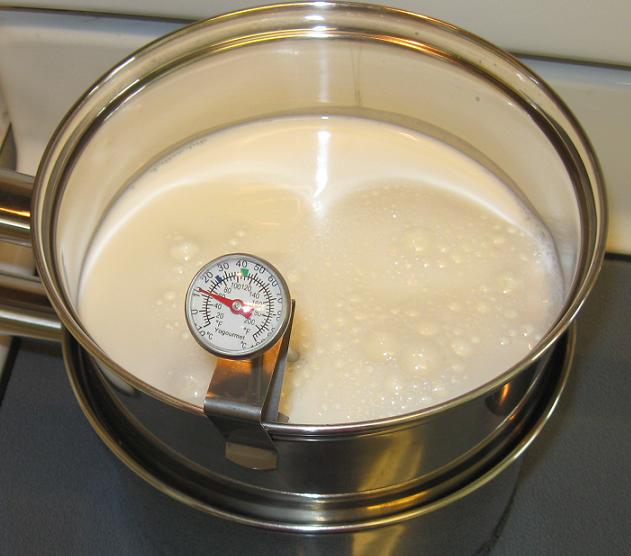
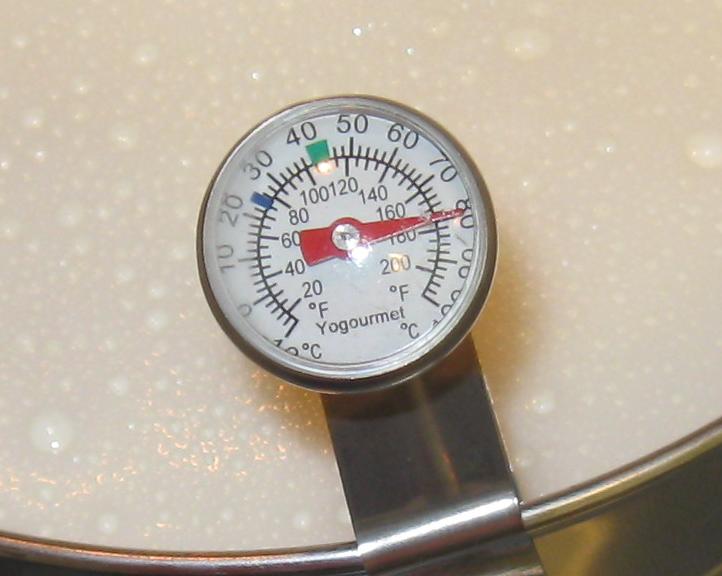
Anyway, pour in two cans of coconut milk, turn on the heat, and watch the temperature with a thermometer until it gets to exactly 180 degrees. Don’t forget to stir occasionally so you’re getting an accurate reading.
.
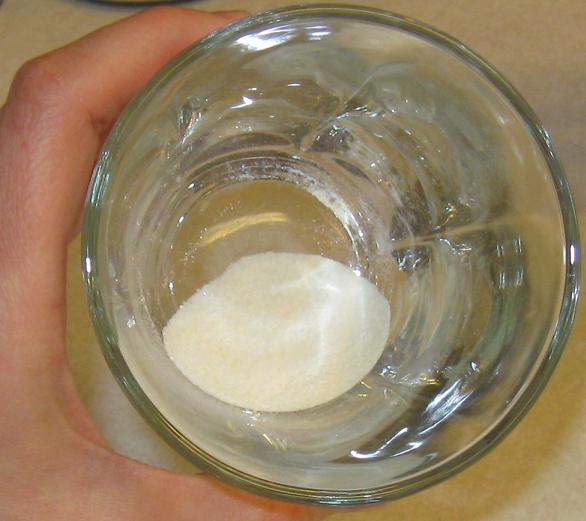
Meanwhile, get out your yogurt starter. This is the polite name given to the living bacterial critters that make yogurt what it is, also known as probiotics. But be careful! Anything that is officially sold as “yogurt starter” almost certainly has dairy in it. If your kid already takes a good probiotic supplement (and they probably should be,) you can just open up one of those capsules and use it. Or if they don’t, and you’re not sure where to start, Culturelle is a good brand that is gluten- and dairy-free, and comes in individual packets you can use for each batch of yogurt.
.
Just as the temperature is right at 180, pull the top pot off of the double-boiler. You just want to graze that upper limit; any higher and it might start boiling, which we don’t want. The only reason we’re heating it up at all is not to cook it, but to sterilize it. Making yogurt involves creating an ideal environment for bacteria to grow, so we have to make sure that there are absolutely no bad bacteria hanging out anywhere near our coconut milk before we start.
.
Now it’s sterile, which is great, but it’s still so hot it would kill our good bacteria too if we put them in there, which is not so great. So we have to let it cool down again, to 110 degrees, which happens to be the perfect temperature for making little buggies happy. (The same goes for when we’re baking bread with live yeast, you may recall.) You could just set the pot aside and be very patient, or you could be like me and dip the pot in a large bowl of water to cool it down faster.
.
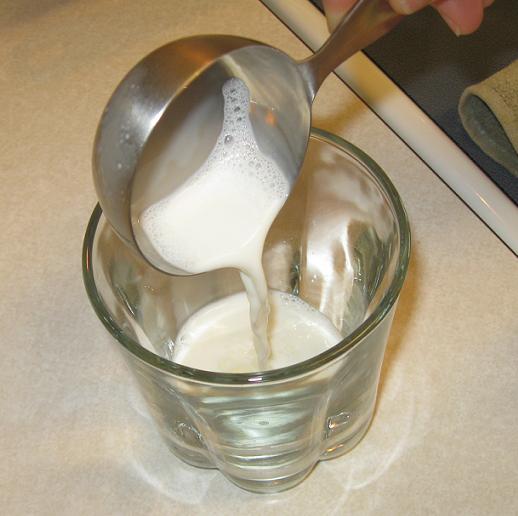
Once you’re back down to 110 degrees, scoop a small amount out of the pot and mix it with your probiotics. Make sure all the powder dissolves thoroughly.
.
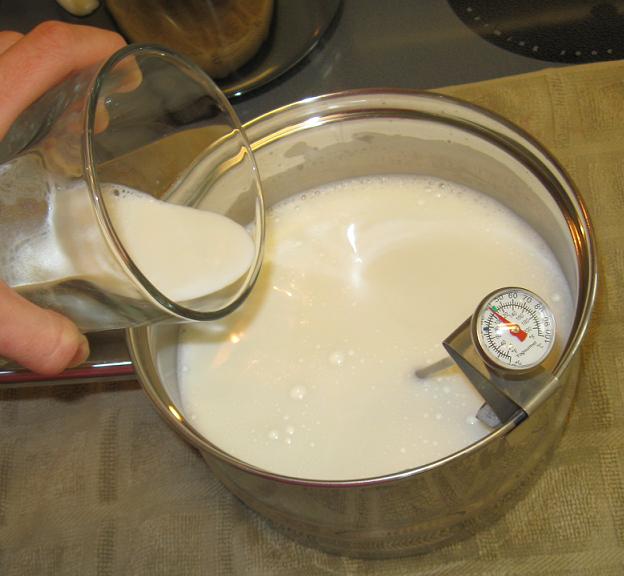
Then mix the dissolved concoction back into the pot.
.
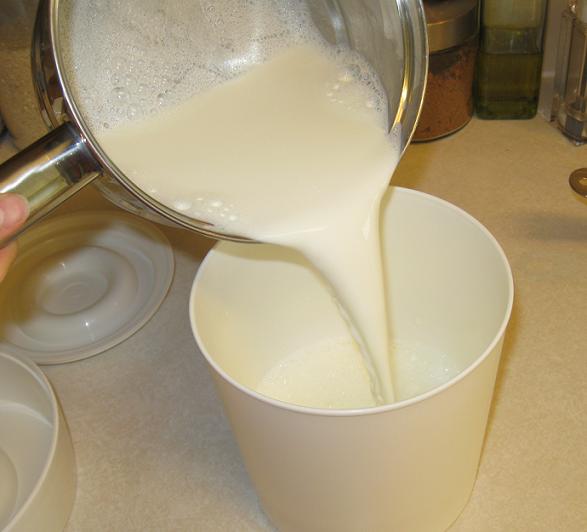
Pour the whole thing into your yogurt maker’s inner container…
.
Then close up the outer container around it and let it hang out on your counter for 24 hours. Some instructions might tell you that you only need a few hours, but in my experience that just doesn’t give the bacteria enough time to flourish unless you’re using multiple doses of probiotics. Ideally, when you open that container up, it should be noticeably thicker than it started, and that’s how you’ll know the probiotics have really multiplied. If it’s still completely runny, you may need to use a double-dose of your probiotic, or you may have accidentally killed it at some point, perhaps by adding the bacteria in while the milk was still too hot, or by using a questionable brand of probiotics that was mostly dead to begin with.
.
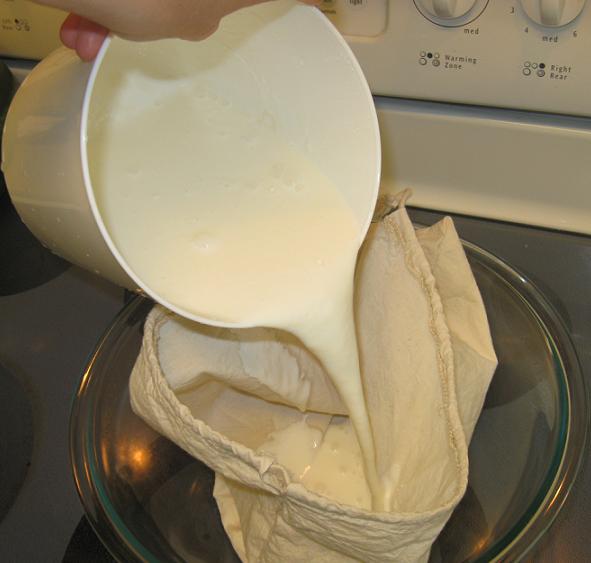
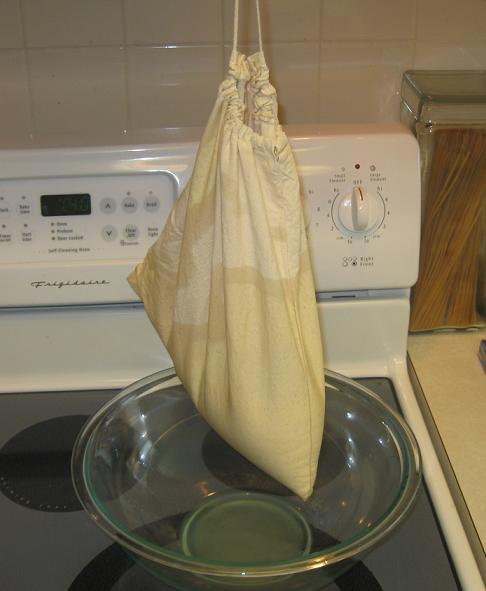
But even the heartiest of probiotic colonies probably aren’t going to result in the kind of yogurt thickness you’re used to buying at the store. To achieve this, you have to strain the yogurt, also known as dripping it. Your yogurt maker should come with a bag of cheesecloth (so named because it’s what you use to make cheese!) Set the bag inside a large bowl, pour the yogurt in, and then lift the bag and hang it by the strings, allowing the clear liquid to drip out.
.
I usually tie mine to the microwave door handle. If we were making yogurt out of milk, that liquid would be what’s known as whey, but as it is, it’s just coconut water.
How long you let it drip depends on how thick you want it; at some point enough liquid will come out that you’ll move beyond yogurt into the consistency of cream cheese, which may even be something you want to try to make sometime. I’ve never been able to get it anywhere near a truly firm, grate-able cheese consistency, but I suppose it might be possible if you let it sit long enough. Some people also prefer to drip it in the refrigerator rather than out at room temperature, but my refrigerator doesn’t have nearly enough space for that.
.
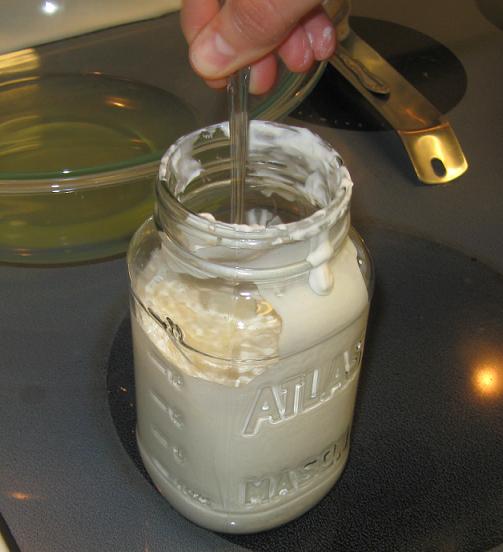
Ultimately, you’ll have to turn the bag inside out and do a fair bit of scraping to get the yogurt into a storage container. Make sure you make a big mess while you’re doing that. It’s what I would do.
.
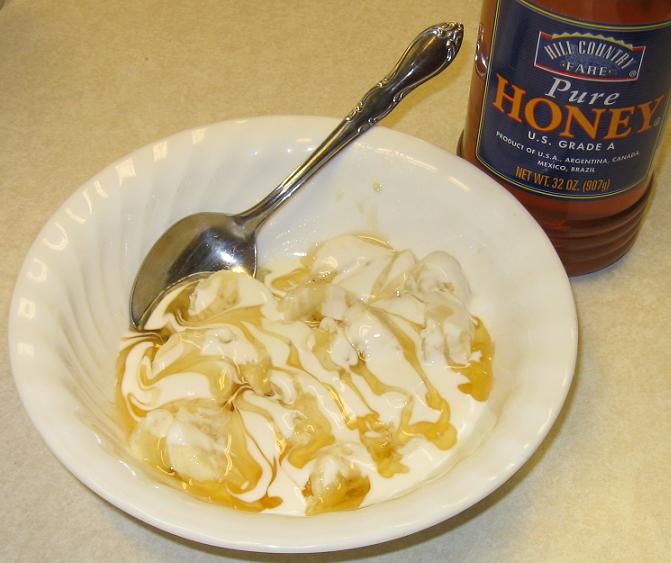
And I figure, if I’m going to all this work just to have yogurt in the house again, I deserve to be downright decadent in enjoying it. That right there is a banana, topped with coconut yogurt, drizzled with honey. I could eat that for breakfast every single day, y’all.
.
Happy Eating!
.
Homemade Coconut Yogurt
2 cans coconut milk
1 packet/dose of GFCF probiotics, or more as necessary
banana (or other fruit as desired)
honey (not optional!)

This is amazing! Making homemade Coconut Milk Yogurt!
Bravo, GFCF Lady!
You said Culturelle comes in packets, how many and how long will they keep? I mean do you have to make a batch once or twice a week to use it before it expires?
Bruce, the sealed bacterial packets (30 to a box) should last for at least a year, if not longer, as long as they’re kept refrigerated. The finished yogurt itself isn’t going to stay fresh for longer than a week or two, so I end up making batches that often anyway, just to keep the supply going.
I want to try this. We have a case of Natural Forest or something like that brand Coconut milk. I love the taste. You could make coconut macaroons with it too.
There is also a chicken, chic pea, green thai chili, coconut milk, red pepper, and some kind of green vegetable soup that is awesome
Coconut milk is almost as awesome as you know who’s brain 😉
Living in Canada I can’t purchase Coconut Yogurt here. We did get some when family members went to the US. I’ve tried a few times with no luck. I will try your method and cross my fingers it works. Also, my yogurt making has the individual cups. Hopefully that doesn’t change it too much.
Thank you again…I’m really enjoying looking through your site.
[…] decided to make my own coconut yogurt based on the method I use to make homemade milk yogurt and this recipe from The GFCF Lady. Since she has to strain the coconut yogurt to make it thicker, I decide to add […]
Hi, if I want to use 3 cans of coconut milk instead of 2, do I have to up the probiotic as well. I purchased the Culturelle packets like you suggested. Thanks!
The amount of probiotic is up to you, but the more starter culture there is, the more bacteria there will be in the final product, and the thicker your yogurt will be.
Hello,
Most of the coconut milk here in the UK has ‘added’ ingredients, including sugar. Is the coconut milk pure, ie nothing added?
Thanks.
The cans that I use have guar gum added as a thickener, but no sugar or preservatives. Sugar won’t cause problems for fermentation, but preservatives are meant to kill pathogenic bacterial growth, so they will likely also have the effect of killing your probiotics as well. You can also make your own coconut milk by simply blending the coconut water and meat of a fresh coconut.
Thank you.
Rather than using a yogurt machine, do you think a dehydrator would work just the same? Dehydrating at 110-115º. Have been wanting to make coconut yogurt (and other fermented foods) for quite some time, did a search and found your blog/recipe. Sounds great and can’t wait to try. Thanks so much. 🙂
Anything that is clean and the appropriate temperature should work. I know people who ferment foods in their oven with the door cracked open to maintain the right temperature. The important thing is that it doesn’t get too hot and kill the probiotics.