[Make sure to check out my Waffles Version 2.0 post. New and improved!]
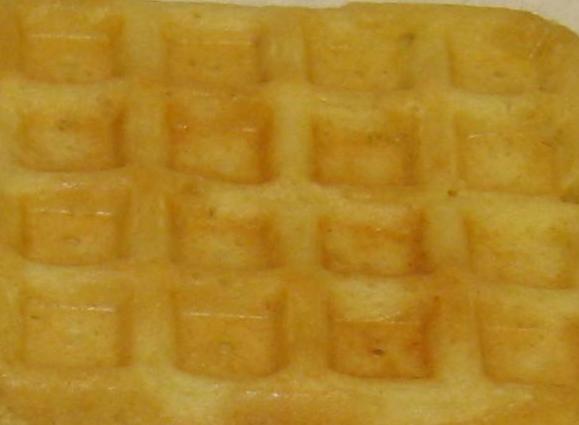
This is the very first GFCF thing I ever learned how to make. It was, in fact, the success of this waffle (wherein success is determined only by the whims of a picky toddler) that gave me the strength to believe I could really do the diet at all. This was, believe it or not, substitute waffle recipe number five. The first four were received… poorly. Those of you with autistic children will understand what I’m talking about.
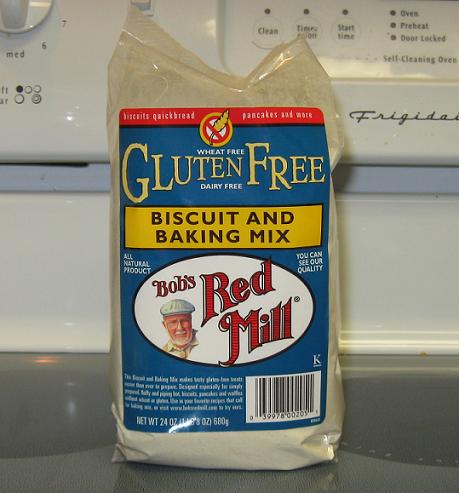
The point is, these waffles are sentimental to me, in an odd way. So forgive me if the recipe seems unimpressive: it is, in fact, just the suggested pancake recipe from the back of the Bob’s Red Mill Biscuit and Baking Mix bag. (Note that it is NOT the official pancake mix bag that Bob’s Red Mill also sells. It’s the pancake recipe from the biscuit mix.)
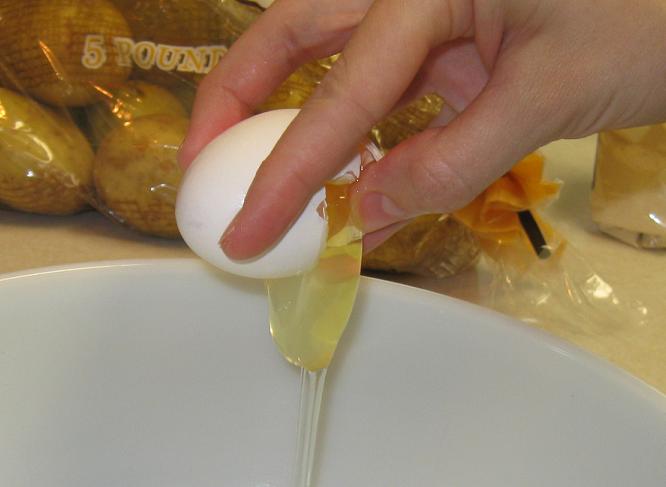
Check out my one-handed egg-cracking skills, eh? I once knew a guy who worked in the kitchen when he was in the army, and he could crack four eggs simultaneously, two in each hand. They’d race to see if they could crack a hundred eggs in 30 seconds. True story.
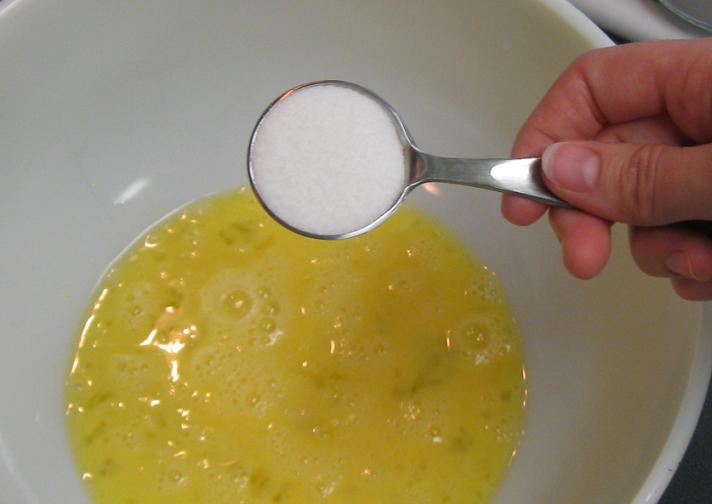
Because I do everything in bulk, I’m tripling the recipe from the bag. So that’s 3 eggs in the bowl, plus 6 Tablespoons of sugar…
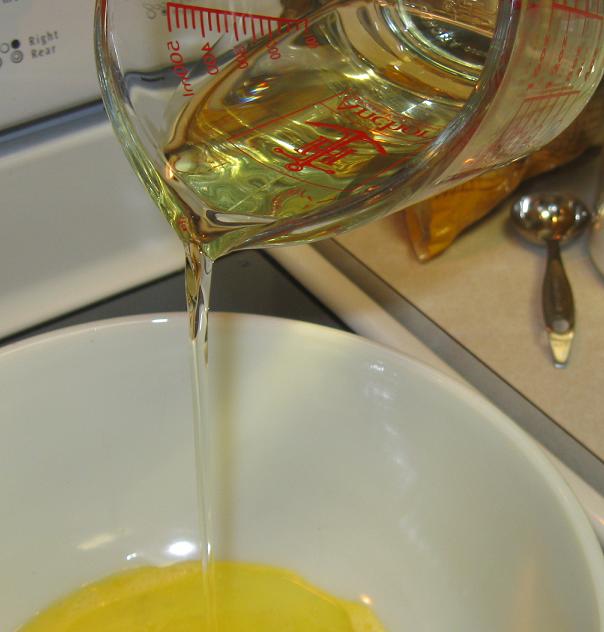
…3/4 cup of canola oil…
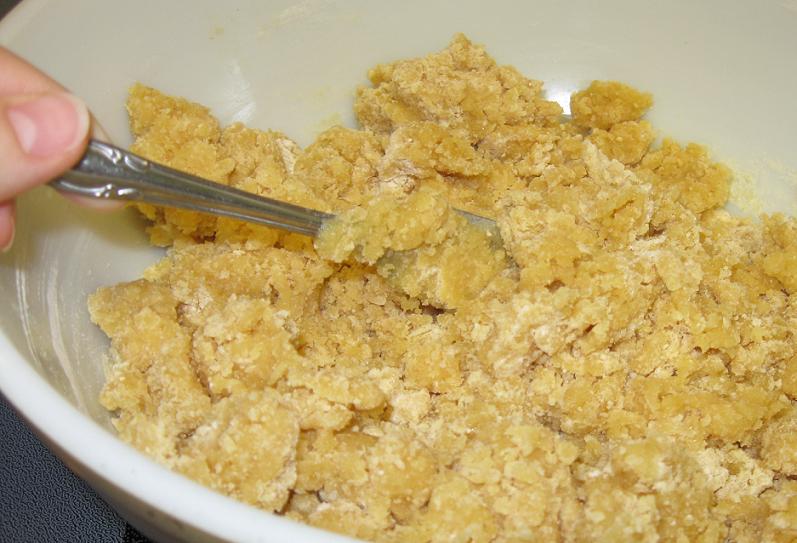
…and 4 1/2 cups of the baking mix, all stirred together.
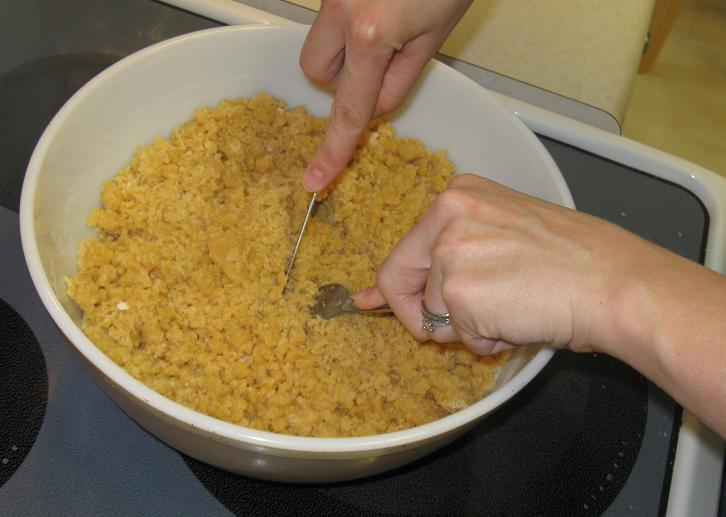
Now, here comes the hard part. You’ve got to keep breaking up that mixture until it’s got a tiny, mealy texture. Use a knife in a cross-cutting motion, as if you were slicing meat. Your great-grandmother would recognize what you’re doing: back in the day many baking recipes called for “cutting in the butter.” Except my great-grandmother would probably be appalled at the lack of real butter in all of these recipes. At the very least she’d probably insist that I ought to churn my own partially-hydrogenated vegetable oil to build up character.
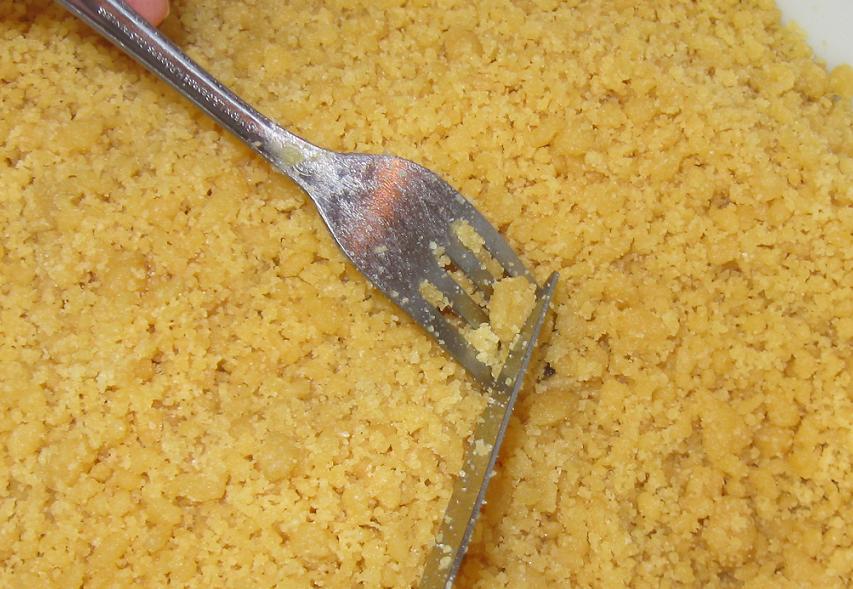
Your arms will get tired, but every minute you work now is at least two minutes you save later. Gluten-free flours tend to clump more than regular flour, and once you start mixing in the water it’s almost impossible to get those lumps out.
When you get down to the smallest bits you can squash them against the back of the fork, like this. Man, look at that texture. That’s what I’m talking about!
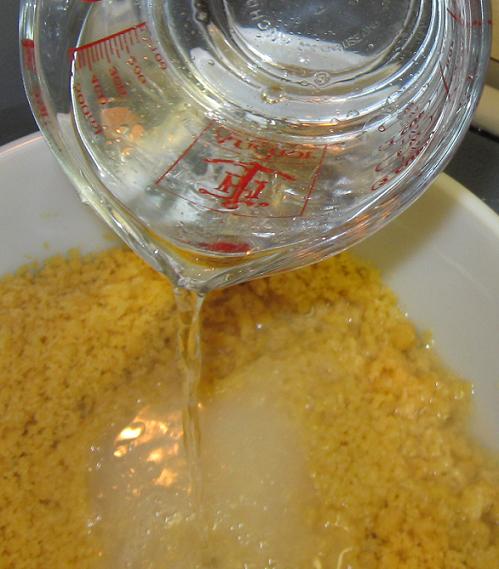
Now add 6 cups of water, and stir for half an hour.
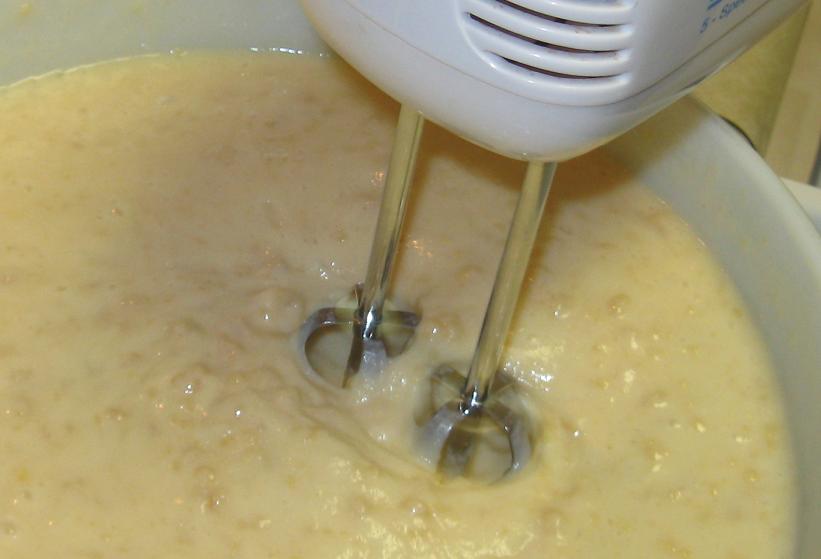
Just kidding, you can get out your trusty hand mixer for this part. But don’t tell my great-grandmother.
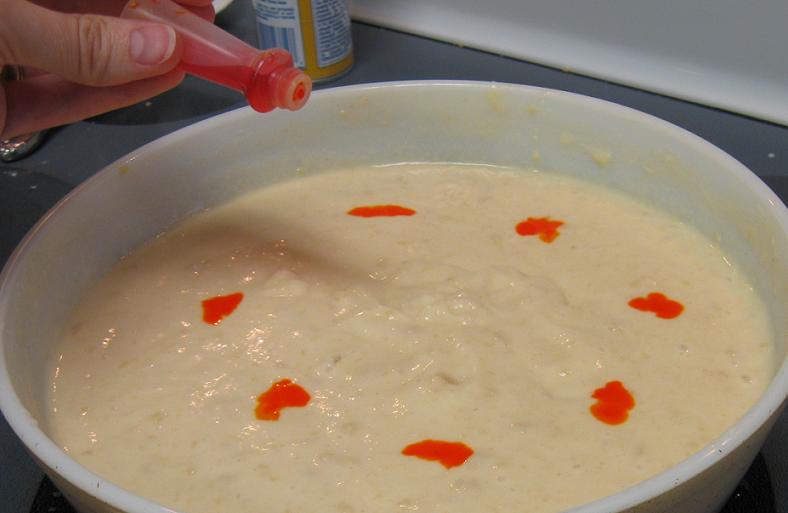
Now here’s one of the major reasons I think this waffle recipe was the one that finally won the GFCFBoy over: I added a bunch of yellow food coloring so they would have that same unnatural hue as Eggo waffles. Since then I’ve been slowly scaling back the amount with each batch, so they’re not nearly as Technicolor as they used to be, and soon they’ll be dye-free.
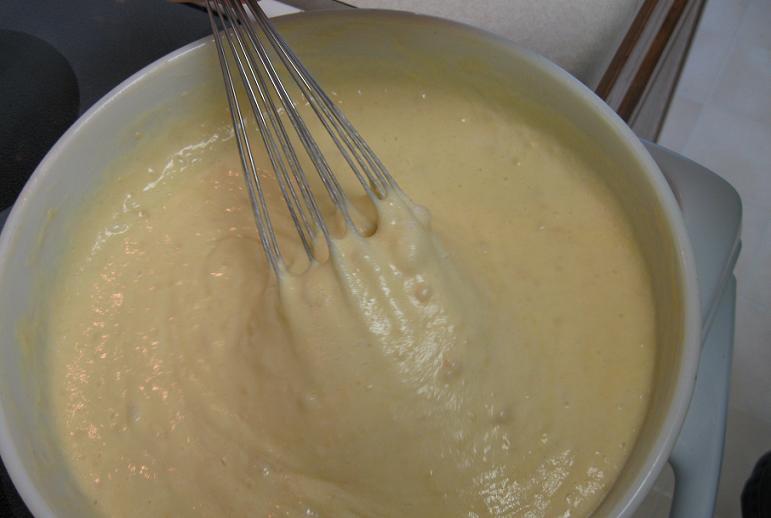
If you haven’t already figured it out, gluten-free batters are much thicker than traditional flour batters. Don’t be alarmed if you’re used to seeing a different consistency in your mixing bowls. This was one way in which my complete ignorance of cooking was a benefit to me when I first started out: I had no idea this wasn’t what normal pancake batter looked like, because I’d never made pancakes before. What can I say, I had other priorities.
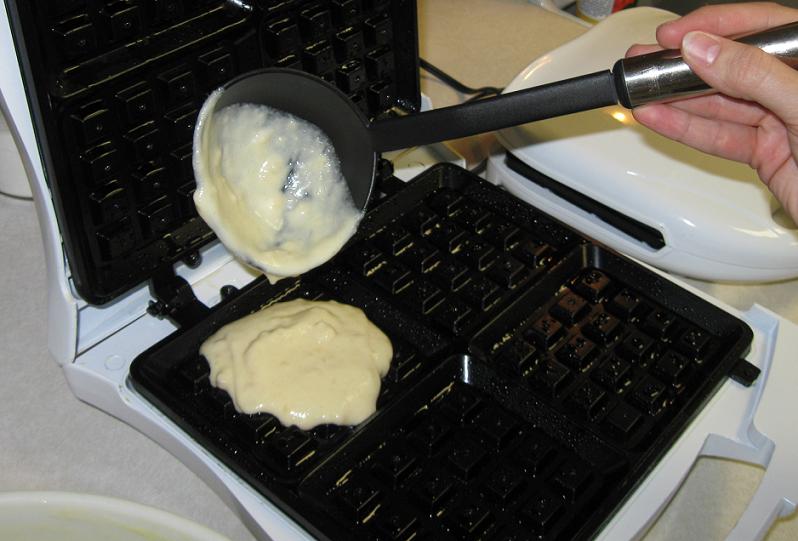
Spray your waffle iron with canola cooking spray, and glop some on. How much will depend on the size of your waffle iron, but I do find that what looks like “the right amount” is usually too little. And if you don’t fill the crevices completely with batter, the waffles won’t cook right because of the pocket of air between the batter and the heating element.
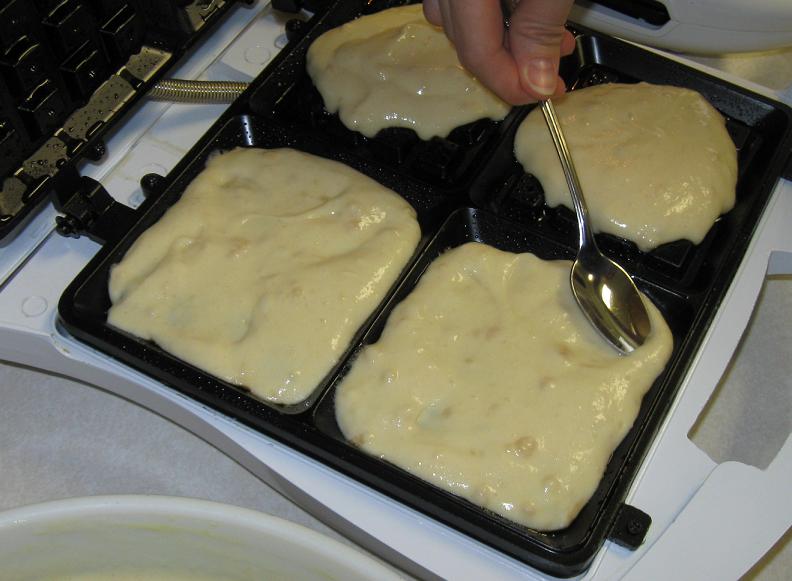
Use the back of a spoon to push the batter outward into the corners. This will help it spread out evenly when you close the waffle iron, and also give you a better idea of whether you have the right amount of batter in there or not.
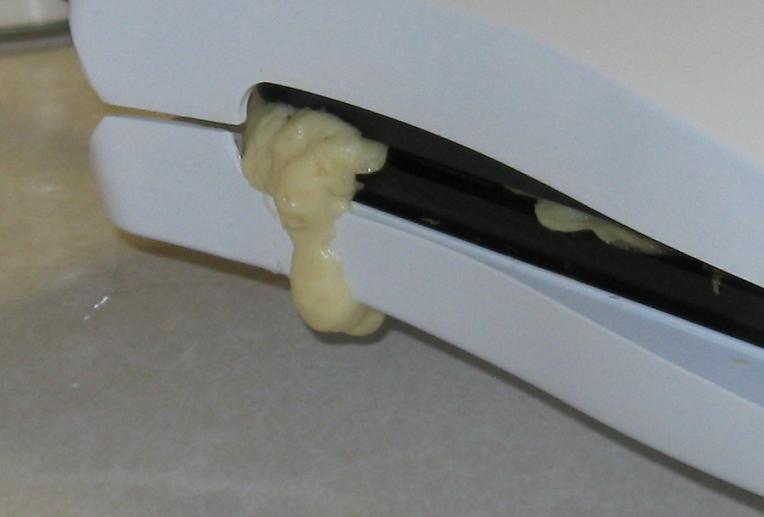
Sometimes I still guess wrong though.
Gluten-free batters in general take longer to cook, and I find that I have to let them stay in there for a good 10-12 minutes. But that may also be because I have cheap waffle irons that don’t get very hot. This is why I use two of them at once, otherwise I’d be making waffles all night long.
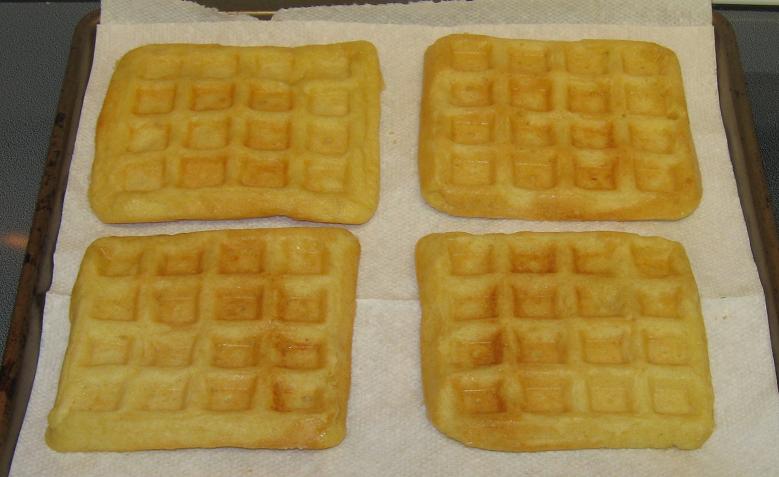
When they’re done the surface of the waffle will be completely dry. Pry them out with a fork, re-spray the waffle iron with cooking spray, and you’re ready for round two.
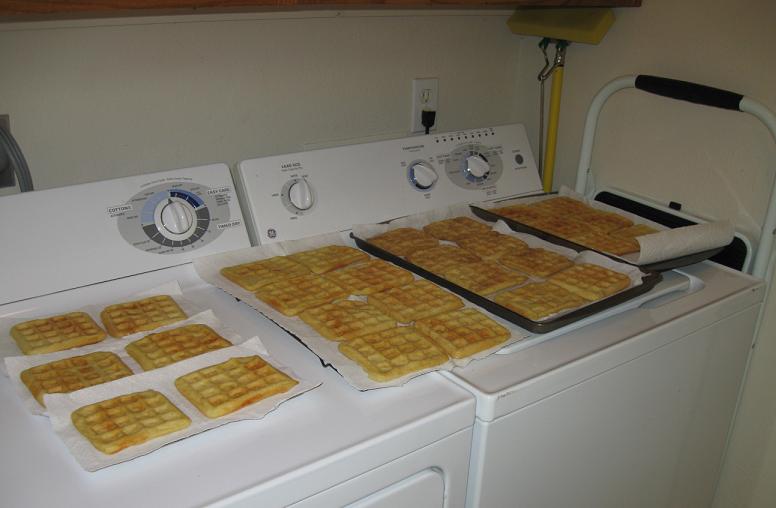
Sadly, you can’t stack these while they cool like you can with the chicken nuggets. They steam themselves and get all soggy. So they’re kind of a space hog while they’re cooling. 28 waffles out of this batch, not bad. In my house, that’ll last… about a week and a half. See why I make a triple batch?
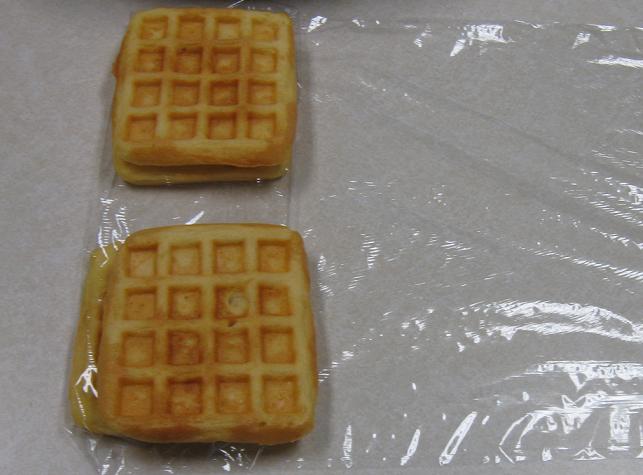
To store them, I roll them up in layers with plastic wrap so they don’t freeze together. Just lay down a pair, flip them over, stack on another two, roll again…
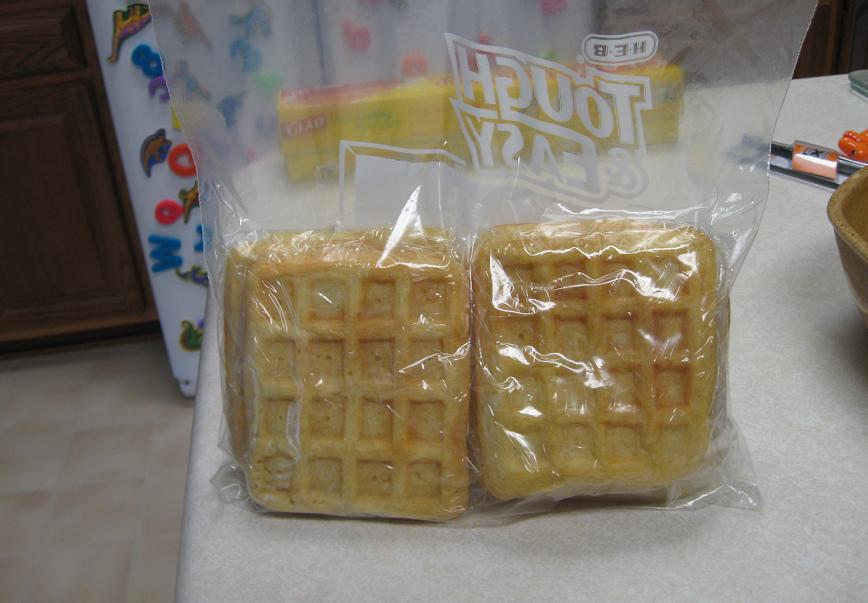
Then put each bundle of eight an airtight bag. If you have lots of freezer space, you can actually “flash freeze” them, which means you let them freeze for a half-hour or so while they’re all laid out separately, and then you can just toss them together without the plastic wrap and they won’t stick. But I can’t do that, because I have no freezer space.
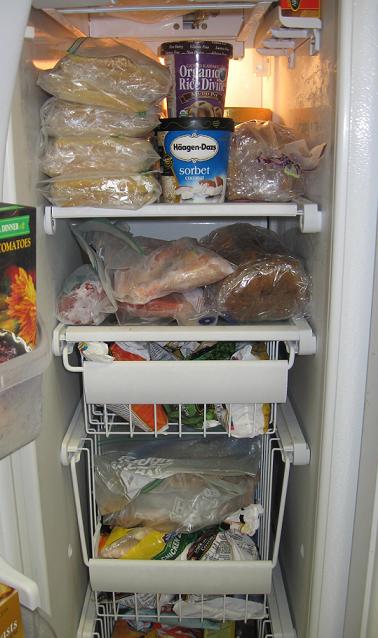
Seriously, I have none.
Happy Eating!
Bob’s Red Mill Baking Mix waffles (triple batch)
3 eggs
6 TBS sugar
3/4 cup oil
4 1/2 cups baking mix
Leave a Reply
You must be logged in to post a comment.