As it turns out, you can teach an old dog new tricks. At the behest of my son’s nutritionist, I began modifying the waffles I make for him a little bit here and there, to the point that it is now a completely different recipe than the one I first posted. So I figure it’s time for an update.
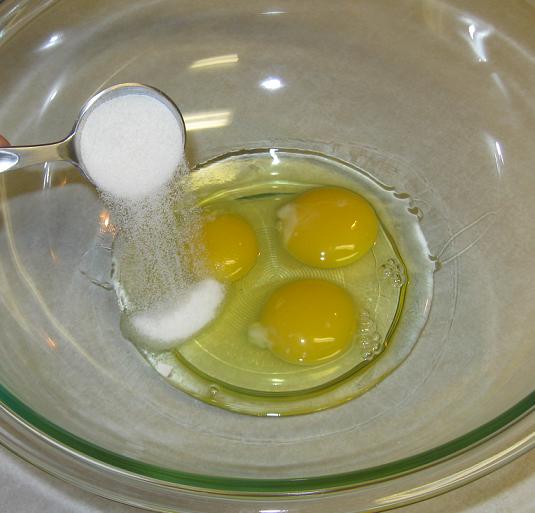
The first thing she had me do was cut back on the sugar in the old recipe. So now we start with 3 eggs, and only 3 Tablespoons of sugar. TheGFCFBoy never missed it.
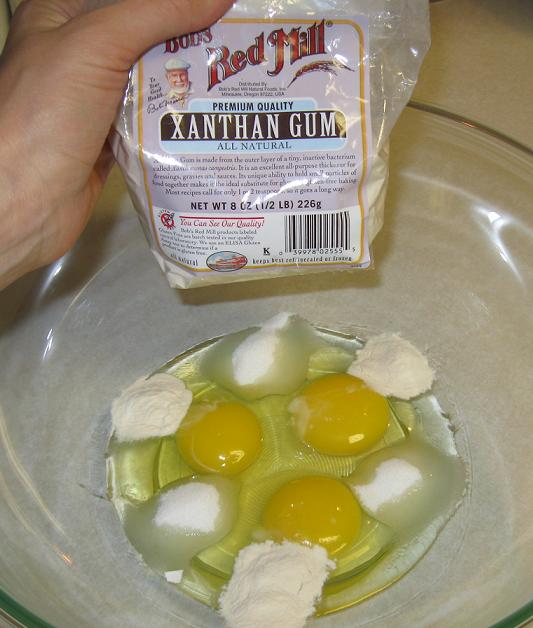
Then came a major change: she wanted me to switch flours to one that is higher in protein. “But I don’t use flour,” I protested, “I use a baking mix.”
“Pah!” she said. “That’s just flour with xanthan gum, salt, and baking soda mixed in. You can do that, no sweat.” And she was right! So add 1 1/2 teaspoons of xanthan gum…
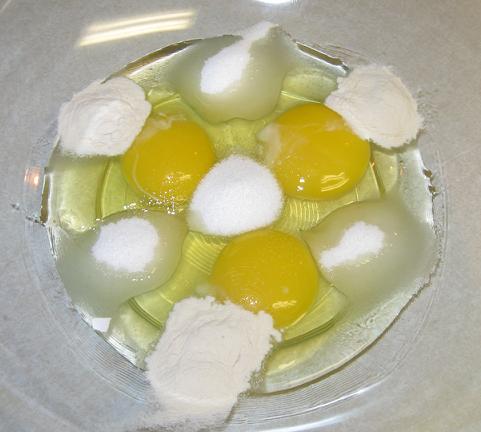
1 1/2 teaspoons of salt…
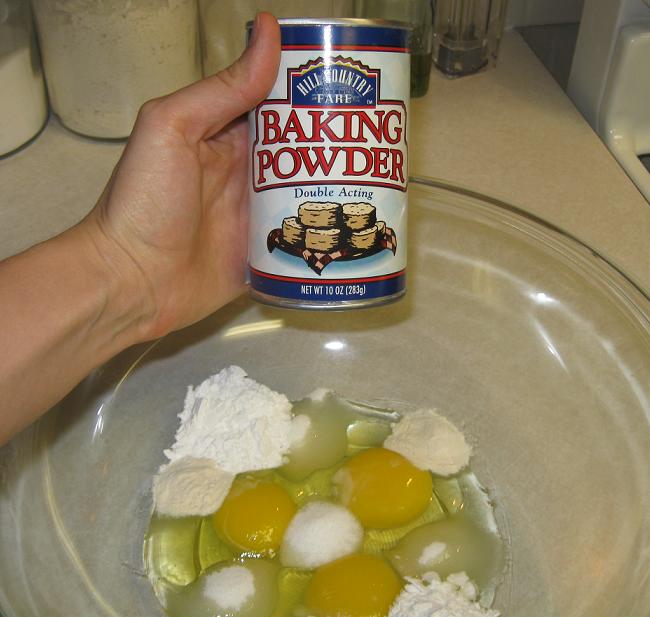
And 2 Tablespoons of baking powder. Make sure your baking powder is gluten-free–mine’s a generic brand, but Clabber Girl is one national brand that’s also GF. [As always, the brands I use were GFCF at the time of posting, but manufacturers can change formulas without notice. Always check your labels!]
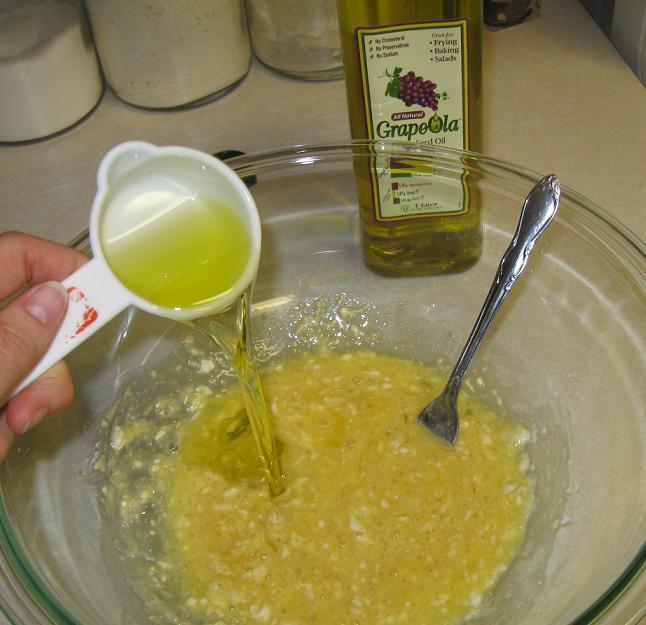
Give it all a good stir, and add 3/4 cup of grapeseed oil. (Or stick with canola oil like in the original recipe. I don’t even remember at this point why grapeseed oil was supposed to be better. Sometimes I think our nutritionist is deliberately making me hunt down weird things for her own personal entertainment.)
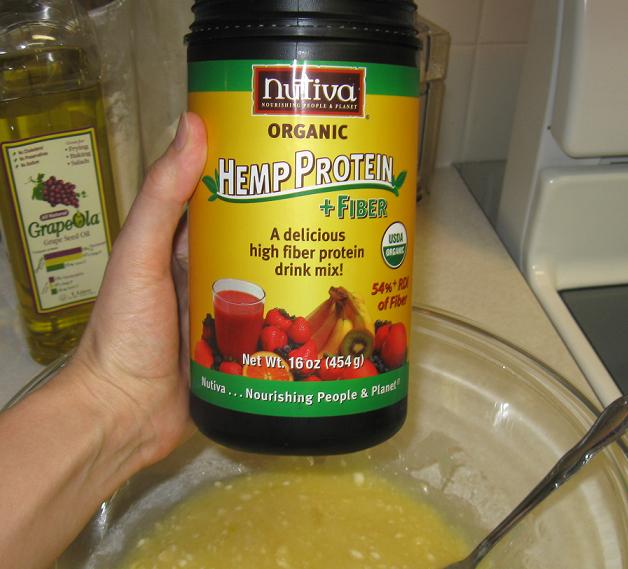
Now apparently, even though I switched flours to one that’s higher in protein, this still wasn’t enough to appease the protein gods. (In all seriousness, the majority of kids don’t get enough protein, especially early in the day. Turns out a big breakfast of ham and eggs is actually really good for a growing kid. Too bad my kid won’t eat either of them.) So we supplement the mixture with 1/3 cup protein powder. Yes, it’s hemp. No, it doesn’t make you high. Moving on… This does make the final product ever so slightly green-tinted, unfortunately. I started small and added a little more each time I made a batch so he didn’t notice. You could instead use rice protein powder or golden pea protein powder if the color is going to be an insurmountable issue, but the hemp powder has the most bang for the buck.
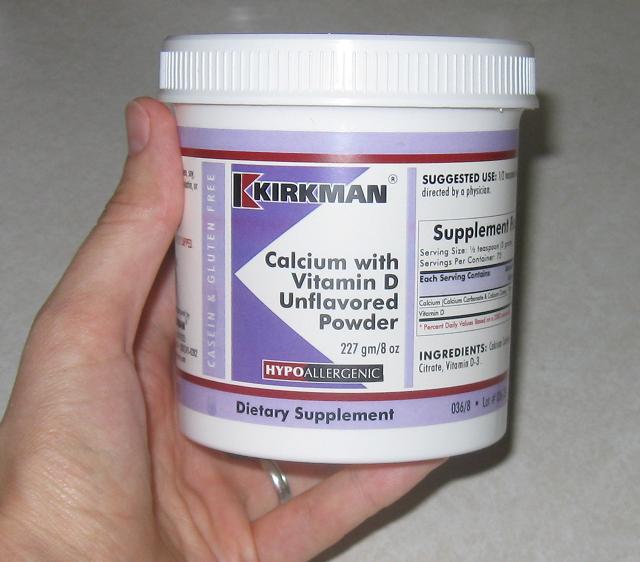
The other thing we supplement our waffles with is calcium. Being dairy-free means it’s hard to get enough calcium, and adding this completely tasteless powder into their waffles meant the kids had one less vitamin to take each day. Just 2 Tablespoons ends up being 500 mg of calcium per waffle, which is a lot.
Incidentally, please remember that nothing on this website is intended to be taken as medical advice. Always consult a professional nutritionist or physician (one who’s DAN certified, if you want my personal opinion on the matter.)
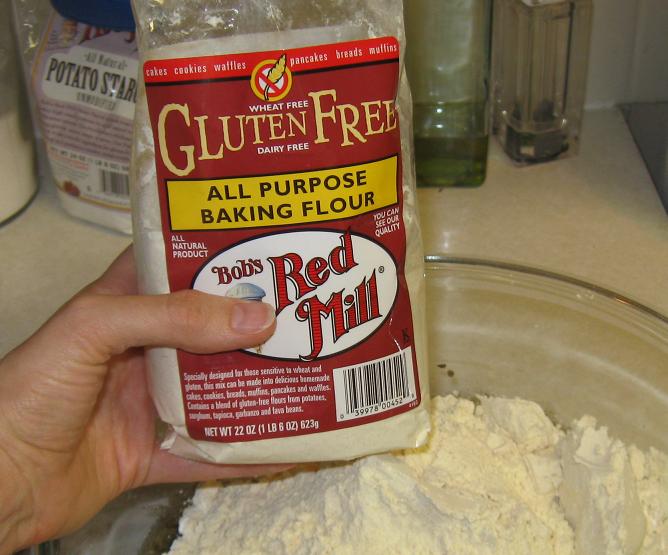
Whew! Okay, we’re finally ready for the flour. And hey, turns out it’s the same stuff we use any other time we need a flour substitute, so that’s really handy. Who knew Bob’s All-Purpose was so high in protein? (Well, the nutritionist did, I suppose.) Add 4 1/2 cups to the mixing bowl, and stir it about gently with a fork until it’s a gooey, clumpy mess.
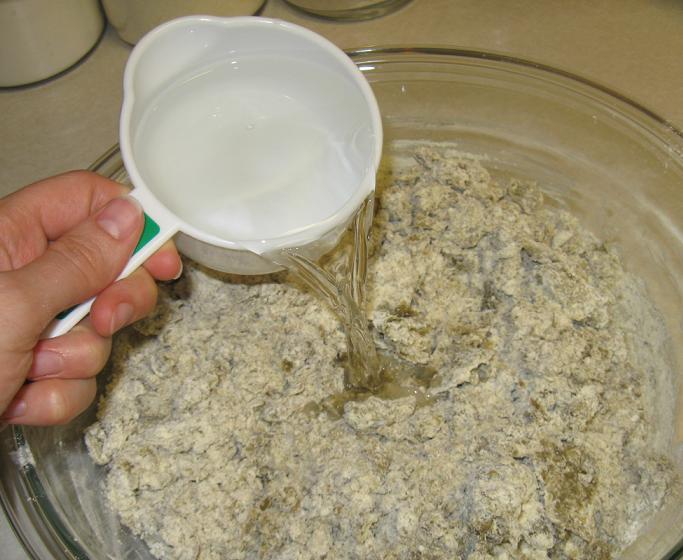
Somewhere along the way, I stopped having trouble getting the lumps out of my batter. I think part of it is just the consistency of the new ingredients, but part of it is I started adding the water gradually instead of all at once. So add just two cups of water to the bowl…
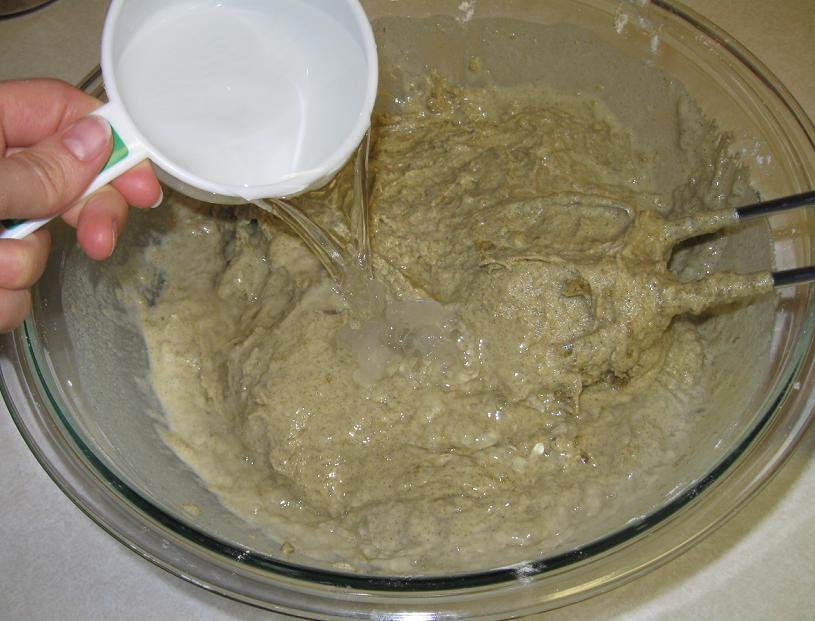
And mix as well as you can with a hand mixer. Then add another cup…
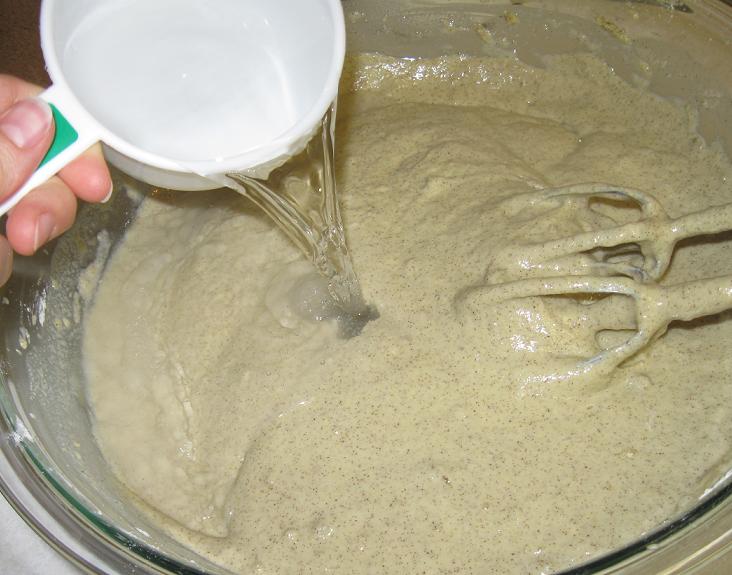
Mix again, and add one more cup of water, for a total of 4 cups.
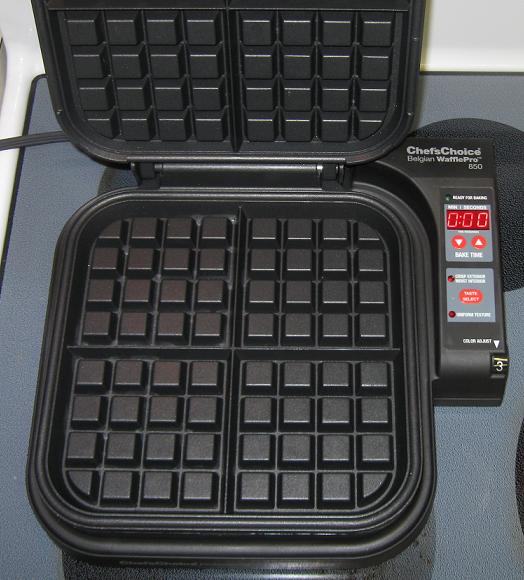
Now, here’s another incredibly important lesson I’ve learned recently: it’s all about the waffle iron. The quality of your waffle iron will 100% determine the quality of your waffles, end of story. You can tweak your recipe forever looking for a better texture, but the day you get a professional-grade waffle iron you will realize just how meaningless it all was. Say it with me now. It’s all about the waffle iron.
Now, let me warn you, this King of All Wafflemakers is not cheap. Not at all. But you get what you pay for, as I learned the hard way. In just six months, I broke no less than 3 different mid-priced waffle irons–that is, I wasted over $100 on junk–before I decided it was time to get serious about the value of my product. I’ve actually been using this one for a few months now (which is a new record for this house,) because I wanted to make sure it would last before I officially recommended it. But even if there had been a problem, this one comes with a complete no-questions-asked one-year warranty, so already it’s cheaper than a new $35 waffle iron every 2 months. And that’s before you even get to all the reasons why this one’s better than all the others!
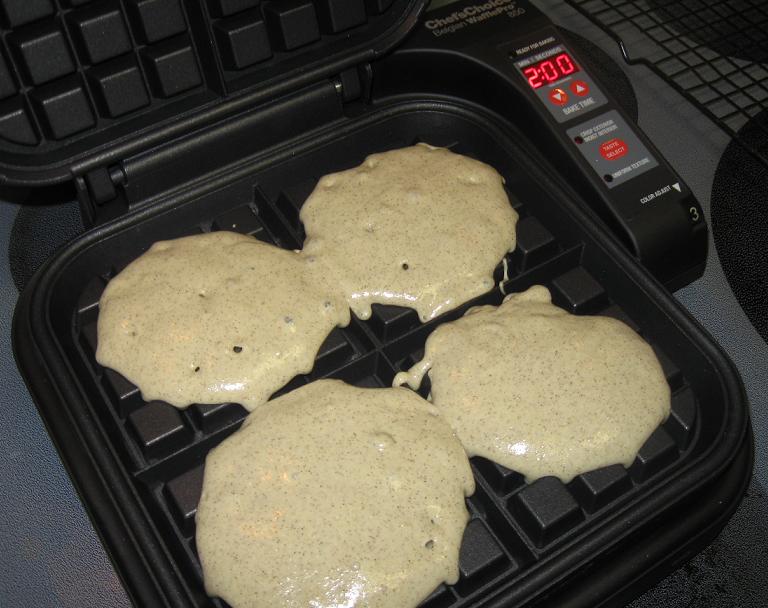
Reason number one: when they say nonstick, they actually mean nonstick. You do not have to spray this waffle iron with oil of any kind, ever. No, I am not kidding.
Reason number two: see that little digital timer? That’s the actual amount of time it will take to cook these waffles. The cheap waffle irons all took about 10-12 minutes to cook each set–just think about that time difference for a moment. I can make an entire batch of waffles (including cleanup!) in under 30 minutes now, as opposed to an hour and a half. I don’t know how often you have to restock on waffles, but in my house it’s about every 10 days, so this is a huge quality-of-life improvement for me.
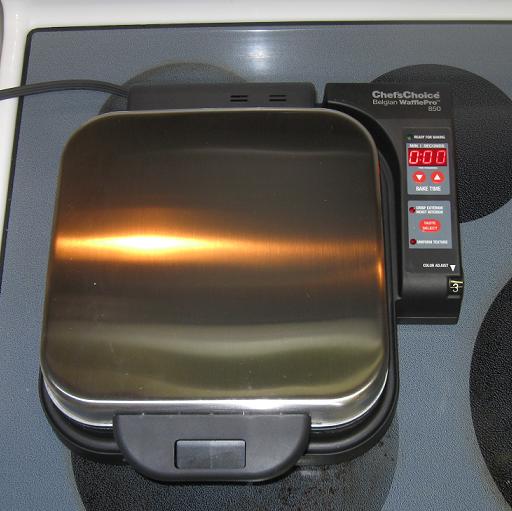
You can manually adjust the cooking time, by the way, and there are settings for both texture and color. I like it on “crisp exterior, soft interior” and halfway between 3 and 4, myself.
There is one drawback to this model, however. The timer beeps very loudly, and there doesn’t seem to be any way to turn the sound off. You can just imagine that if this were in a busy cafe somewhere, it would need to be heard over the din of cooking and customers and everything else, but in my kitchen it’s pretty startling.
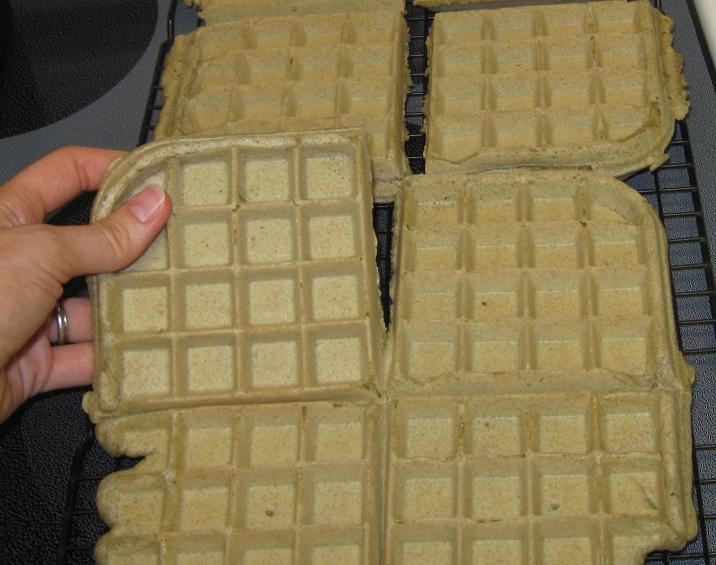
The waffles come out as one giant waffle, but they tear apart really easily. You may notice this wafflemaker makes very tall waffles; that is, the squares are very deep. So these new waffles don’t lend themselves as well to making sandwiches as some of my old waffle iron shapes did. Then again, those are broken, and this one’s not. Firmly squashing the waffles into a flatter shape with my palm seems to work just fine.
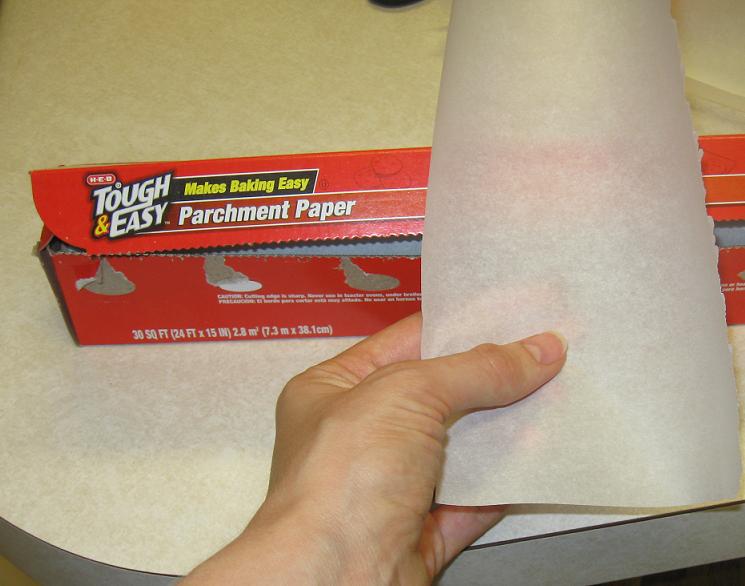
I’ve also figured out a better way to store them in the freezer, separating the stacks with strips of parchment paper rather than wrapping the whole bundle in plastic wrap. Cheaper and less waste this way.
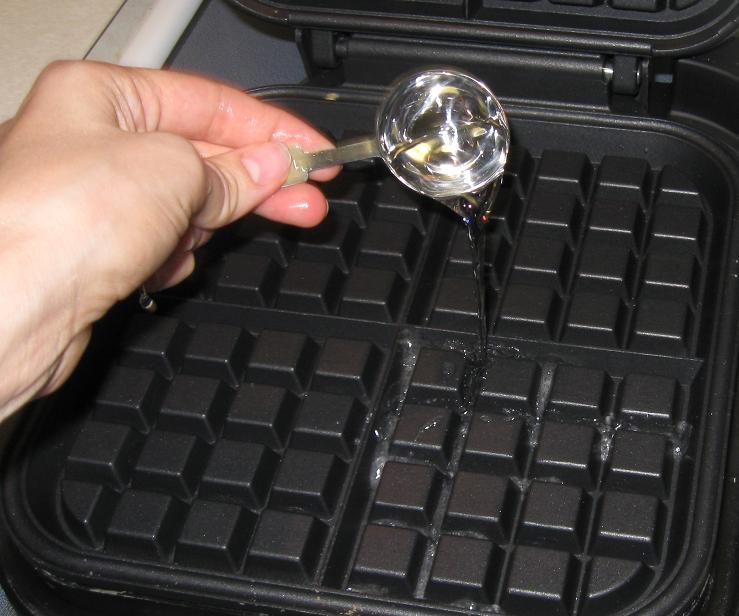
Oh, and here’s how you clean a waffle iron, which I completely neglected to mention at all last time. After you’ve pulled your last waffle off, dump a Tablespoon of water on the grill and immediately close the lid. Any remaining residue in the crevices will be steamed right out. But there won’t be much, because like I said, there’s no need to oil it, so there’s no oil leftover.
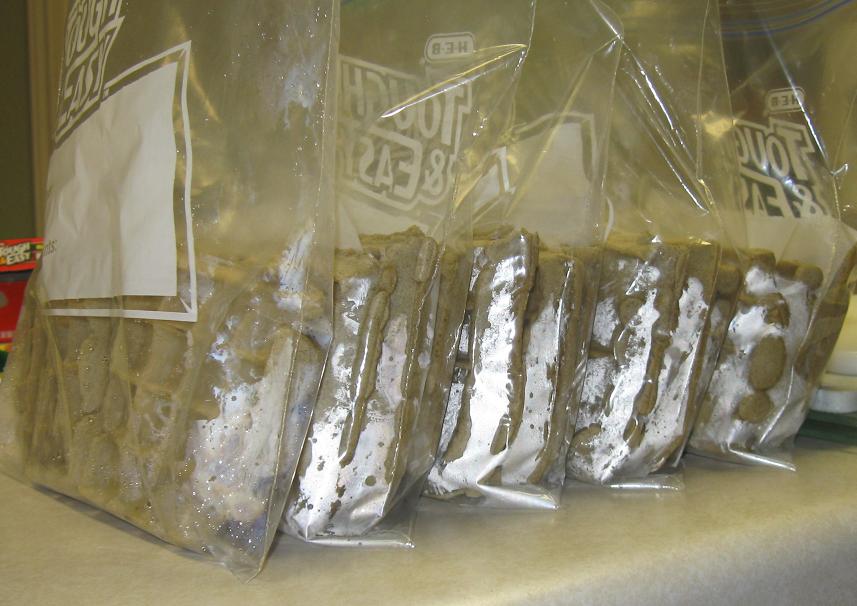
And here’s my soldier line of waffles, ready to go into the freezer. I only get 25 out of a batch nowadays, but on the other hand, with the hemp powder they are definitely more filling, so the kids almost never eat more than one anymore.
Happy Eating!
The GFCFLady’s Waffles
3 eggs
3 TBS sugar
1 1/2 tsp xanthan gum
1 1/2 tsp salt
2 TBS baking powder
1/3 cup hemp protein powder (optional)
2 TBS Kirkman’s unflavored calcium powder (optional)
4 1/2 cups Bob’s Red Mill All-Purpose Flour blend
4 cups water

My Mom never worried about the lumps in the batter for waffles or pancakes. It was kind of cool when a little cloud of flour would float to the surface of the Maple syrup.