First things first: Congratulations to stephanietodd, who won last week’s giveaway with post #6! (Many thanks to www.random.org for hosting such a useful random number generator.) Please email me your mailing address and your choice of color, so I can send you your prize!
And thanks to everyone who posted about what they’d like to see in the future, I’m going to do my best to provide the most helpful recipes I can. Speaking of, have you ever made your own beans? I avoided it for so long, because it had such an old-school mystique about it, I thought it must be terribly hard. But it isn’t! What’s more, beans are very healthy, and homemade ones cost one-tenth what canned beans do.
.
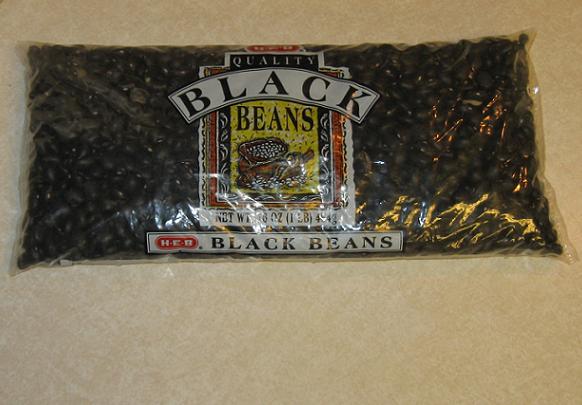
Look, it’s a bag of beans! Everything I’m about to describe goes for all types of beans, by the way, I just happen to be using black beans because they’re my favorite.
.
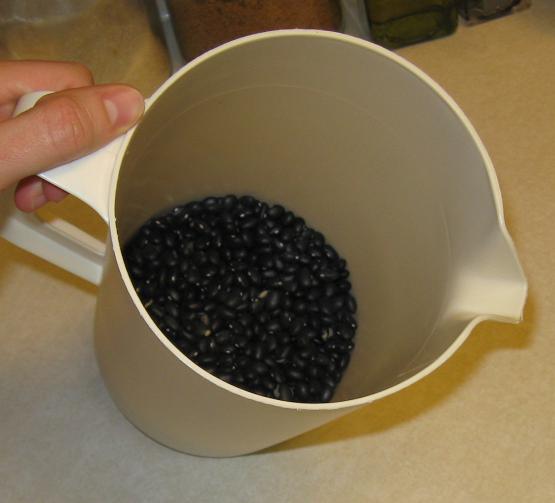
The first thing you must do with real beans is soak them overnight. There are ways you can try to speed-cook them, but the beans don’t come out as well, and what’s more, soaked beans cause less flatulence. That’s better for everyone involved, don’t you think? I find a drink pitcher to be the most convenient way to soak them.
.
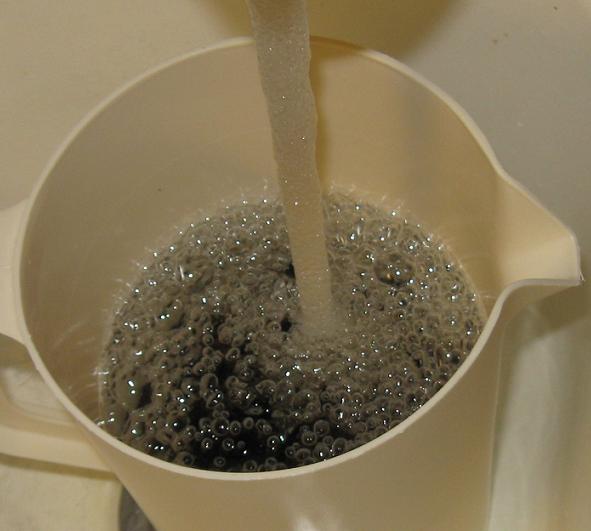
Fill it most of the way with water and just stick it either on the counter, or in the fridge, before you go to bed. Being at room temperature will speed up the soaking, and help the oligosaccharides break down faster, which is what makes the beans easier to digest and ultimately leads to less gas. But they probably shouldn’t have more than about 12 hours soaking at room temperature. So if I’m going to be slow-cooking them in the crock pot all day, I soak them overnight at room temperature and deal with them in the morning. If I’m going to be cooking them in a normal pot on the stove, I soak them in the fridge, and leave them there all the way until the late afternoon when I’m ready to start cooking them.
.
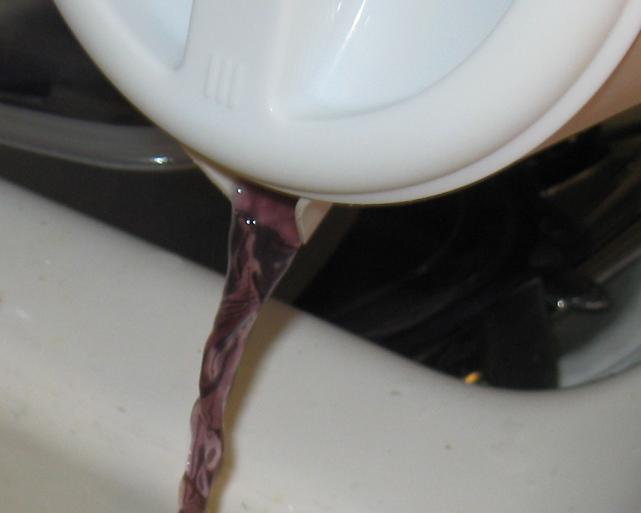
One way or the other, when you’re ready to start cooking your beans, pour your nasty water out (see how handy the pitcher lid is for this?) and cover them again with fresh water.
.
Boil them for 2-3 hours on the stove, or 5-6 hours in the crock pot on low. If you have to leave them in there for longer, it’s not really a big deal, they’ll just be extra soft. Make sure you start with at least 3 times as much water as you have beans, because they’re going to absorb and swell a lot.
.
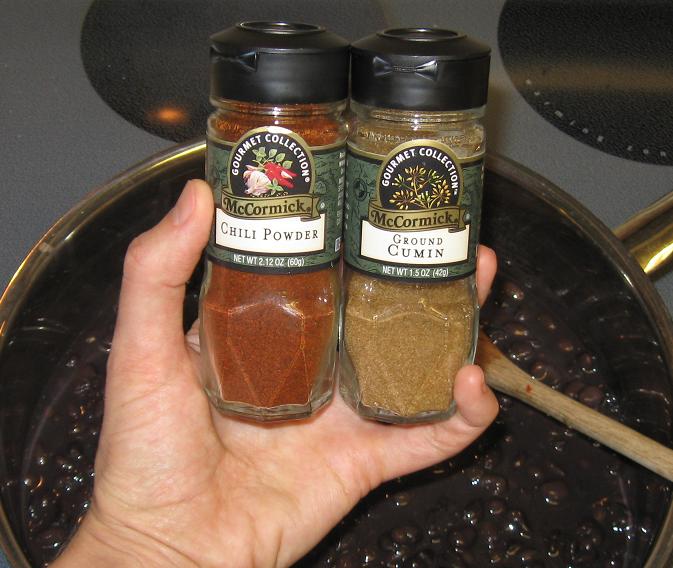
The seasonings depend entirely on what kind of beans you’re making, and what kind of recipe you’re going to use them in. I was going for a Mexican flavor this night, so I put in 1 teaspoon each of chili powder and cumin. (After it was done, I kinda wished I’d put some dried cilantro in there too. Oh well, there’s always next time.) Now is when a lot of people like to put bacon or other pieces of pork in with the beans to flavor them. If you do this, make sure you get a gluten-free brand of bacon, and preferably one with no added nitrates or nitrites either, like Applegate Farms. [As always, the brands I use were GFCF at the time of posting, but manufacturers can change recipes without warning. Always check your labels!]
When you store the leftovers — and you should definitely have some, because the whole point of cooking beans is to make a huge batch at once — keep them covered with some of the remaining liquid so they stay moist. They’ll freeze well this way too. When it’s time to reheat them, you can drain them like you would a regular can of beans, or…
.
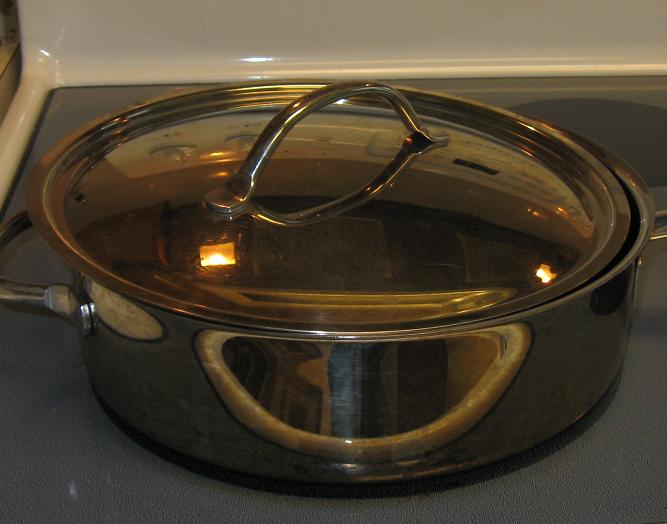
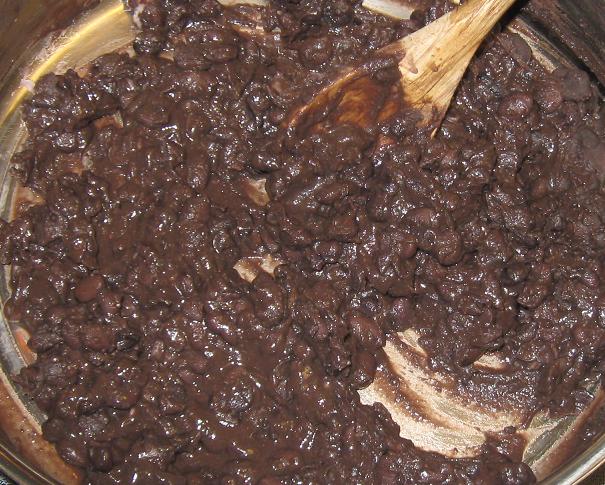
You can dump the whole thing back into a pan on medium-high heat, and shove them around a bit until they mash up and become refried beans. Who knew it was that easy?
.
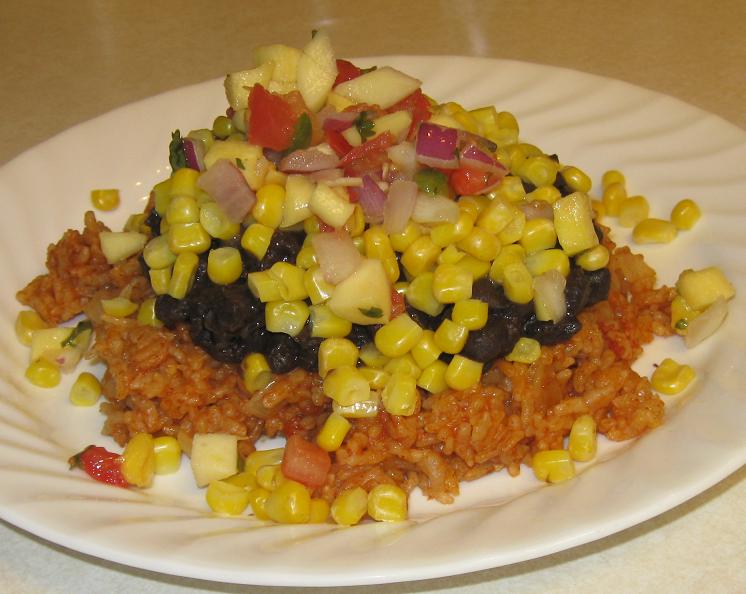
Here we have my concoction for the evening: sorta-refried black beans over Mexican rice, topped with corn and mango pico de gallo (you can find a discussion of pico de gallo in the comments section here, if you’re not familiar with it.) You could also put them in tacos, in a soup, as a side dish… one batch can be used for several very different meals throughout the week, saving you lots of time, money, and effort.
.
Happy Eating!
.

Mom made 10 lb batches of baked beans, (hey, New England), and used to buy the paper thin, clear plastic, disposable containers for church food sales, and for freezing. But they would get broken in the freezer. Even the heavy Tupperware type would often pop their lids in the freezer, and the beans would dry out. The best solution for freezing seemed to be zip closure type freezer bags, for keeping the beans pristine.